In the 1970s, many village gardens had a straightforward way of tackling this nightmare: a blue liquid from a bucket, sprayed once a week, and the beds stayed impressively healthy for a long time. Now that more and more people want to use fewer chemicals, this old technique is coming back into the spotlight - with copper, more precisely the classic copper spray.
Old gardening knowledge: how grandparents kept the fungus under control
When tomatoes and potatoes suddenly start to fail
The culprit is late blight, often called simply a fungal infection in everyday language. It thrives in warm, wet weather, builds up in densely planted beds, and spreads at alarming speed. Anyone who does not react in time can lose a large share of their tomato or potato crop within just a few days.
- The first signs are yellowish-brown patches on the leaves.
- Later, the stems turn dark, soft and brittle.
- In the end, the fruit rots on the plant before it has a chance to ripen.
Many people know this exact scenario: everything looks fine at the end of June or the beginning of July - and then, shortly afterwards, the whole crop collapses. That happened in the past too, but many farmers and home gardeners knew how to prevent it.
In many gardens, the blue copper solution was as much a part of the weekend as a trip to the bakery - one spray, and the bed was ready for the next spell of rain.
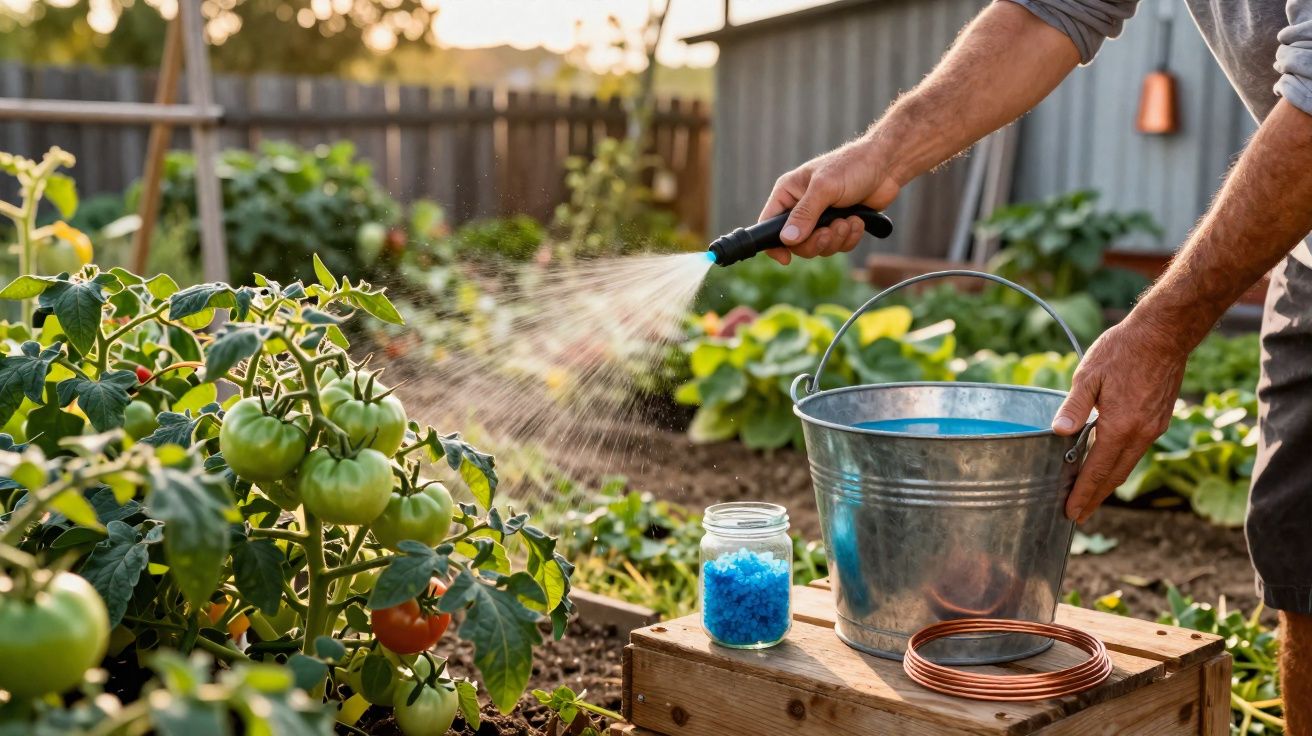
Saturday ritual: bucket, watering can, blue liquid
Back then, older gardeners traditionally mixed their copper solution on Saturday morning. Armed with a bucket, a wooden stick and a watering can or sprayer, they went through the garden. Tomato supports, potato beds and vines all received a fine, even coating on the leaves.
The effect was simple: a thin protective film formed on the foliage. Fungal spores that wanted to settle in damp conditions no longer found suitable conditions to germinate. The plants stayed healthy for longer, and the infection was much weaker - or, in some cases, did not appear at all.
What the blue liquid is really made of: copper sulphate explained
How copper blocks the fungus
The classic copper treatment is based on a solution of copper salts, usually copper sulphate mixed with lime, commonly known as copper spray. It does not work inside the plant; instead, it remains on the outside surface.
There, copper interferes with the metabolism of fungal spores and stops them developing. The plant itself absorbs only very small amounts; most of the material stays on the leaves as a protective layer until rain washes it away again.
Copper spray works like a raincoat for the leaf - it does not cure anything, but it does stop the fungus getting a foothold in the first place.
The benefits - and where the limits lie
The reason copper has remained popular is its robust, well-tested performance. It is regarded as one of the most reliable shields against fungal diseases on tomatoes, potatoes and vines, and it is also permitted in strictly limited quantities in organic farming.
Even so, there is a downside: copper is a heavy metal. It barely breaks down in soil and can build up if it is used too often or in excessive amounts over time. That can harm soil life, including earthworms and beneficial micro-organisms.
- Spraying too often leads to long-term copper build-up in the soil.
- As a result, soil structure and the activity of soil organisms deteriorate.
- A sensible amount means only a few applications per season, and only when needed.
So anyone using copper should dose carefully, keep usage low and combine it with other measures, rather than spraying every week as a routine.
A practical tip that often gets overlooked is to keep a simple note of when you spray and what the weather is doing. That makes it much easier to avoid overuse, spot patterns from one season to the next and decide whether the treatment is actually earning its place in the garden.
How the old method works today: copper treatment step by step
Mixing the solution: materials and dosage
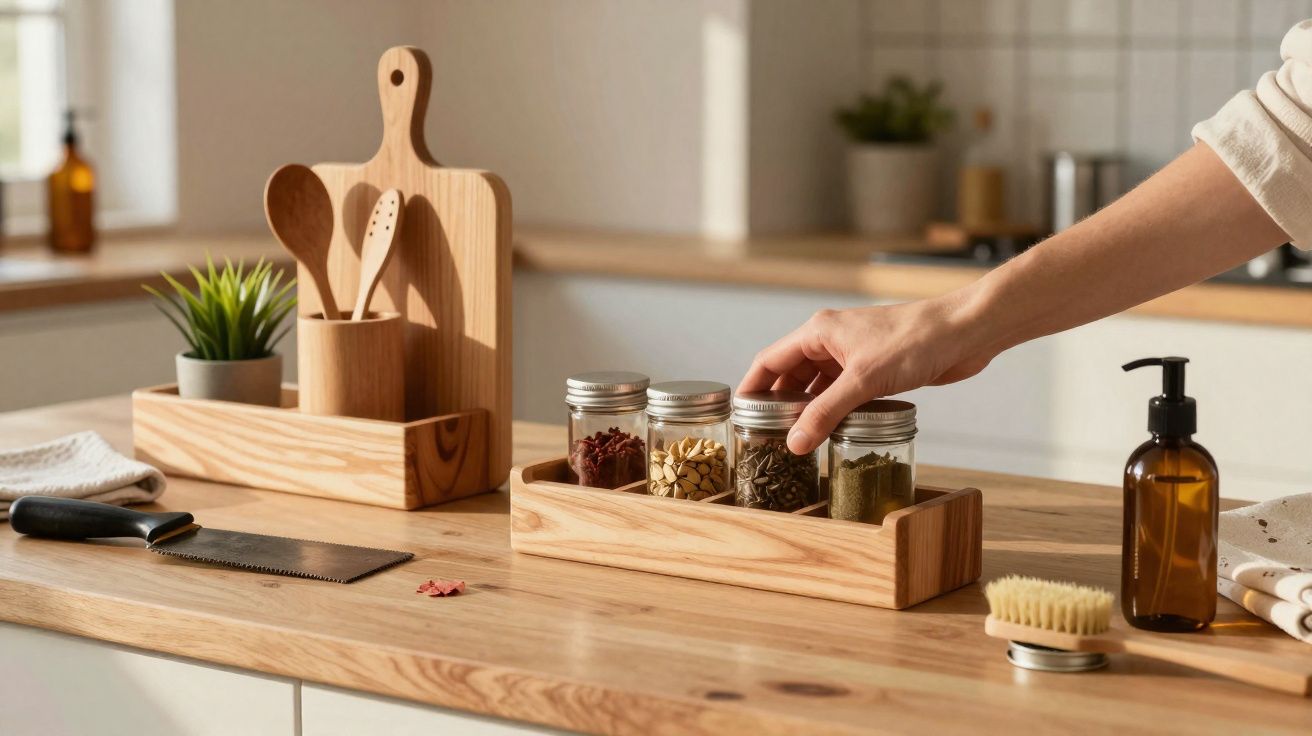
For a traditional treatment against fungal infection in the vegetable garden, you do not need much specialist equipment. Clean tools and correct dosing matter most.
- A clean pressure sprayer or a fine watering can, around 10 litres in capacity
- About 30 to 40 grams of copper spray powder for 10 litres of water, depending on the product instructions
- A bucket or large container for pre-mixing
- A stirring stick, gloves and, depending on sensitivity, a face mask
First, pour water into the bucket, then stir in the powder slowly until no lumps remain. After that, pour the solution into the sprayer and use it straight away. The instructions on the pack take priority, as different products may require different concentrations.
Also worth remembering: wear protective clothing, avoid contact with skin and eyes, and rinse the equipment carefully after use. That helps keep both the gardener and the garden in better condition.
The right time and the right crops
Anyone hoping for a result should not wait until the first leaves have already turned black. Copper treatment works primarily as a preventive measure.
Typical uses include:
- Tomatoes outdoors and under cover
- Potatoes in the bed
- Vine plants in the home garden
- Sensitive vegetables such as aubergines or cucumbers in very wet summers
The ideal time for the first treatment is shortly before forecast rain, once the plants are growing strongly. After that, an interval of around two weeks is sensible, as long as the weather remains favourable to fungal disease. Heavy rain shortens this gap because the protective film is washed away more quickly.
In the home garden, more than five or six treatments per season are usually neither necessary nor sensible - in this case, less really is more.
Applying it without damage: how to spray properly
To make the treatment work without placing extra stress on the plants, it helps to follow a few basic rules:
- Spray only on dry, calm days.
- Choose early morning or late afternoon, not the middle of the day in bright sunshine.
- Wet the leaves evenly from top and bottom, without letting the solution drip off the plants.
- Remove and dispose of leaves that are already badly affected before treatment.
At the same time, it is worth looking at how the crop is grown: plants spaced further apart with good air circulation dry more quickly and are naturally less vulnerable.
More than just spraying: extra strategies against fungal infection
Reducing pressure with simple gardening tricks
If you do not rely on copper alone and instead adjust several factors, you build a much more stable defence. A few examples that have proved useful in many gardens:
- Rain cover for tomatoes: a simple roof made from film or corrugated sheets greatly reduces wet leaves.
- Never water from above: water belongs at the roots, not on the leaves.
- Airy planting distances: more space between plants helps the foliage dry faster.
- Mulching: a layer of straw, grass clippings or leaves keeps the soil moisture more even and protects soil life.
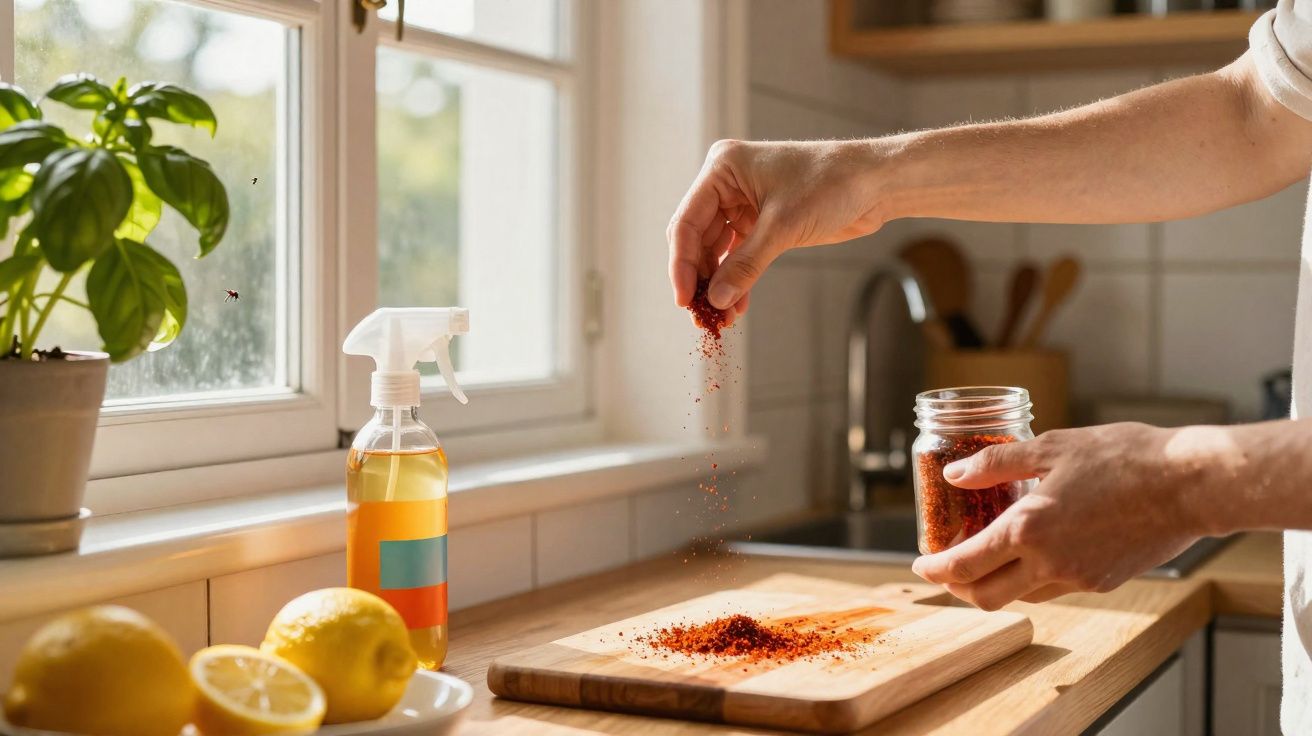
Many gardeners also swear by natural sprays such as nettle liquid feed, garlic extract or horsetail decoction. These do not replace copper completely, but they can delay treatments and make the plants more resilient.
How gardeners are experiencing the return of copper
In allotments and community gardens, a similar picture has emerged in recent years: where copper spray is used sparingly and at the right time, tomato plants and potato crops keep going for much longer. The leaves stay greener, leaf loss starts later, and the harvest lasts well into late summer.
A tried-and-tested approach there combines several points:
- Early, preventive treatment before long rainy periods
- In-between use of herbal sprays instead of constant copper applications
- Careful choice of variety, favouring robust, blight-resistant tomatoes
- Regular removal of affected leaves before they become a source of spores
Nobody who thinks long term relies only on the blue solution. It is one building block in a system designed to make the whole garden more resilient.
A healthy garden needs balance: tradition meets ecology
Planning copper responsibly
Anyone bringing back the old 1970s method should adapt it to today’s conditions. That means keeping an eye on the permitted annual maximum and sometimes skipping treatment altogether if the weather stays dry and stable.
A rough yearly plan might look like this:
| Period | Measure |
|---|---|
| Early spring | Loosen the soil, mulch and choose resilient varieties |
| May/June | Set up rain cover, start first herbal spray applications |
| June/July | If fungal weather arrives, use one to three copper treatments, with natural alternatives in between |
| Late summer | Remove affected plant debris from the bed consistently |
That spreads the load on the soil while still keeping the main crops largely protected.
Further tips for hardier beds
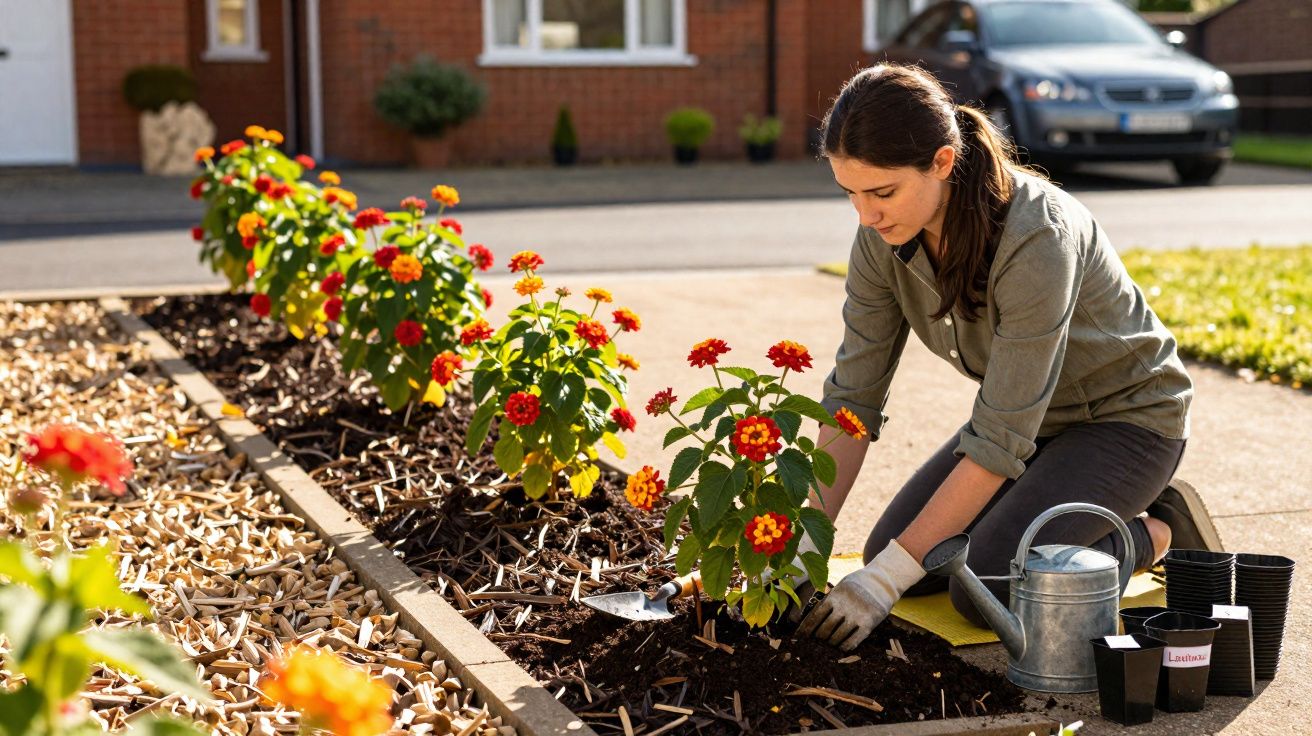
A lively soil, varied crop rotation and mixed planting are the strongest long-term allies. Growing tomatoes in the same place every year practically invites fungal disease. It is better to rotate the beds and move sensitive crops around from time to time.
It also helps to combine tomatoes with plants regarded as “protective companions”, such as basil, alliums or marigolds. They can confuse pests, loosen the soil or simply add more diversity.
In the end, the goal is a middle way: the old knowledge of blue copper spray can save many harvests if it is combined with modern caution and an eye on soil life and biodiversity. Used gently, it gives the vegetable garden a decisive advantage, especially in wet summers.

Comments
No comments yet. Be the first to comment!
Leave a Comment