A barely known homemade mix can change that in just a few minutes.
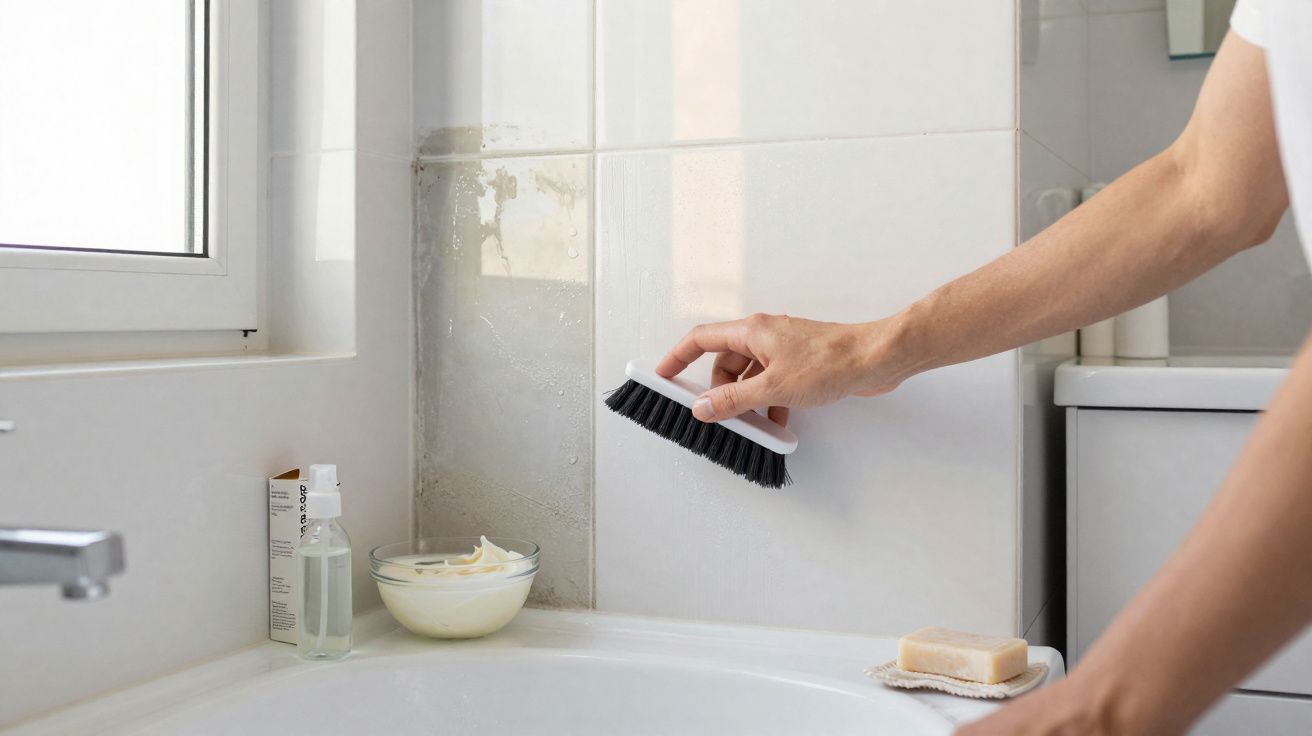
Anyone who has scrubbed a bathroom knows the irritating problem: the tiles may shine, but grey shadows, black specks and sometimes even mould lurk in the grout. Instead of aggressive chemical cleaners, there is now a simple blend of just four ingredients that can lighten grout visibly without chlorine - in around a quarter of an hour.
Why bathroom grout turns black so quickly
Tile grout is usually made from cement or resin. Both are slightly porous, which means they absorb moisture and dirt. In warm bathrooms with poor ventilation, the following all find ideal conditions:
- mould spores
- soap residue
- limescale deposits
- skin oils
The result is grout that looks dark, and sometimes pitch black, making it appear far older than it really is. Many people then reach for strong chlorine-based bleaches, which bring a pungent smell, can damage surfaces and often irritate the airways.
A simple four-ingredient kitchen mix can make grout look noticeably brighter in 15 minutes - with no chlorine and no specialist cleaner.
The four-ingredient grout cleaner: what it contains
This homemade blend relies on ingredients that are already sitting in many kitchen cupboards. Typically, four components are used, each one reinforcing the others:
- Bicarbonate of soda or baking soda - mildly alkaline, helps break down grease and dirt, and reduces odours.
- Household vinegar or diluted vinegar essence - dissolves limescale and has a mild disinfecting effect.
- Liquid soap or a mild washing-up liquid - binds grease and soap residue and helps the mix spread.
- Warm water - helps turn the ingredients into a paste and carry them into the pores of the grout.
This combination stands in for a classic bleach cleaner: the alkaline powder loosens dirt, the vinegar tackles limescale and soap scum, the soap lifts everything away, and all of it works without the sting of chlorine.
Before you begin, it is worth testing the paste on a small hidden section first, especially if your bathroom includes natural stone, coloured grout or delicate finishes. Wear household gloves as well, because vinegar and repeated scrubbing can be hard on skin.
How to mix it
The exact amount depends on the size of the area you want to clean. For an average shower room, this basic ratio is usually enough:
| Ingredient | Amount (guide) |
|---|---|
| Bicarbonate of soda or baking soda | 40–50 g |
| Liquid soap / washing-up liquid | 15–30 ml |
| Household vinegar | 45–60 ml |
| Warm water | about 45 ml, adjust as needed |
Mix everything in a bowl until you have a thick, spreadable paste. It should not be runny, otherwise it will slide out of the grout lines.
Bathroom grout cleaner in 15 minutes: step-by-step method
1. Prepare the surface
Start by rinsing the area briefly with warm water and removing any loose dirt. The grout should be damp, but not dripping wet, so the paste can hold in place.
2. Apply the paste
The mixture is best worked into the grout with an old toothbrush, a small brush or, if you are wearing household gloves, directly with your fingers. The key point is to keep it on the grout lines themselves rather than smearing it broadly across sensitive natural stone.
3. Let it work: the crucial part
This is where the 15-minute effect comes in. Leave the paste sitting on the grout and allow it to do the work. During this time, the vinegar and bicarbonate of soda react slightly with one another, so a little foaming may occur. That helps loosen deposits that have settled deep into the grout.
After just about a quarter of an hour, many grout lines already look noticeably lighter - without hours of scrubbing or the harsh smell of chlorine.
4. Brush again and rinse away
Once the waiting time is up, run the brush over the grout once more. Then rinse everything thoroughly with warm water. If you want to, wipe over the area with a microfibre cloth to remove any remaining traces of the mixture.
Benefits compared with harsh bathroom cleaners
The four-ingredient method offers several advantages at once:
- No chlorine, no bleach - less irritation for skin and airways.
- Kinder to grout - lower risk of crumbling or discolouration caused by overdosing.
- Less environmental impact - many of the ingredients break down more easily.
- Very low cost - the items are usually already part of a normal kitchen or cleaning cupboard.
- Easy to use - no specialist knowledge is needed, and the paste tolerates small measuring errors.
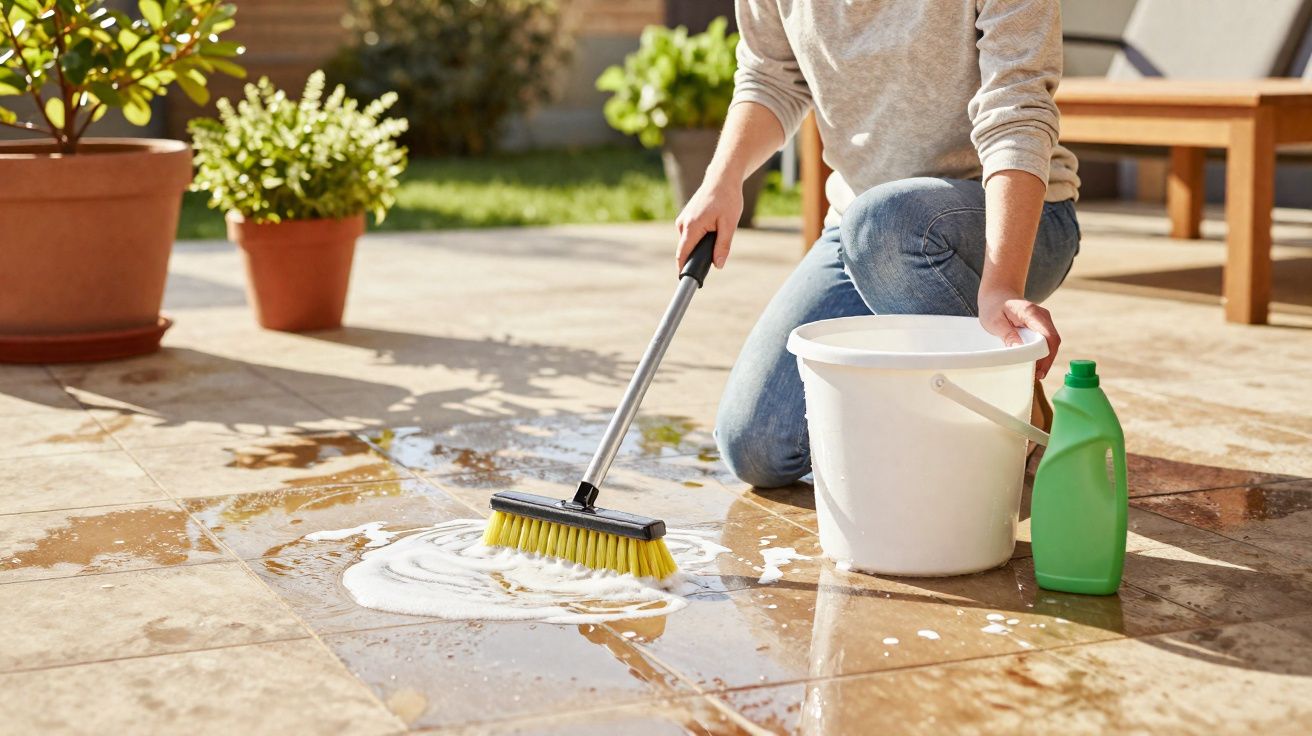
Even so, the method often achieves results on dirty grout that can compete with much more expensive specialist cleaners. The difference becomes visible particularly quickly in showers, around bath edges and near washbasins.
When the homemade mix reaches its limits
There are situations where even this blend is no longer enough. That may be the case if:
- mould has penetrated deep into the grout material,
- the grout is already crumbling or cracked,
- dark grout colours were installed deliberately and are not meant to be lightened,
- natural stone surfaces react badly to acid.
In those cases, replacing the grout may make more sense. In wet rooms such as level-access showers, protection against moisture damage also matters - here, a specialist is the best option if grout keeps turning black or a musty smell appears again and again.
Prevention: how to keep grout cleaner for longer
If you add a few small habits after the main clean, you will need the brush and paste far less often. Helpful steps include:
- After showering, quickly run a squeegee over the tiles and grout.
- Ventilate the bathroom well and avoid lingering dampness, especially after long, hot showers.
- Rinse away soap residue and do not leave a thick layer of foam sitting on the tiles.
- Every few weeks, apply a thin layer of the mixture to problem areas.
These small routines reduce moisture on the surface of the grout, giving mould spores and dirt less chance to settle.
What lies behind vinegar, bicarbonate of soda and soap
The mixture works so well because it makes use of simple chemical principles. Bicarbonate of soda works alkalinely, while vinegar is acidic. Together, they help dissolve typical bathroom dirt, which often consists of a mix of limescale, grease and soap residue. The soap acts as a carrier and lifts the loosened particles away from the surface.
At a time when prices are rising, many households are once again turning to these kinds of home remedies. They will not replace every specialist cleaner, but they can significantly reduce the use of harsh chemicals - and bring blackened bathroom grout back into good condition in remarkably little time.


Comments
No comments yet. Be the first to comment!
Leave a Comment