Many keen gardeners get a shock when spring arrives and they look at their patio: the slabs have gone dull, the joints are dark, and rusty rings have appeared around table legs. Instead of harsh chemicals or noisy machinery, a popular British DIY method relies on two inexpensive items from the cleaning cupboard - and leaves vinegar and bleach out completely.
Why a patio looks so dirty after winter
If you barely glance outside during the colder months, the problem often only becomes obvious once the sun sits lower in the sky. What seemed perfectly acceptable before can suddenly look like a neglected corner of the garden. There are clear reasons for that.
- Moisture: Rain and wet ground keep paving damp for weeks, which creates ideal conditions for algae and green growth.
- Shade: Areas beneath tables and chairs, or alongside the house wall, dry out slowly, so lichens spread more easily.
- Temperature changes: Frost and thawing water force dirt deep into the tiniest pores.
- Metal furniture: Chair and table legs leave rust stains and brown marks behind.
The result is a patio that appears untidy even though the structure itself is still sound. Many people instinctively reach for strong chemicals or a pressure washer, even though both can cause more harm than good over time.
Why pressure washers and vinegar are often poor choices
A powerful water jet is tempting because the dirt seems to disappear at once. The problem is that the spray does not just lift grime from the surface - it can also strip away material.
- Jointing sand can be washed out, and the filler between slabs disappears.
- The surface becomes rougher, which means it picks up dirt even faster in future.
- Splashed water can spread muck onto walls, windows and garden furniture.
Strong bottled cleaners can be just as troublesome. Bleach, aggressive limescale removers and heavy-duty patio cleaners may damage jointing compound, discolour natural stone, and end up in flower beds or the lawn if they are not rinsed away properly.
Although vinegar is often marketed as a “natural” household solution, it is still an acid. On delicate surfaces such as limestone or sandstone, it can etch the finish. It can also alter the soil’s pH around the patio, which puts nearby plants and soil life under stress.
The better approach avoids acids and high pressure, and instead uses two familiar cleaning staples that have sat in many cupboards for years.
The two basic products that clean paving properly
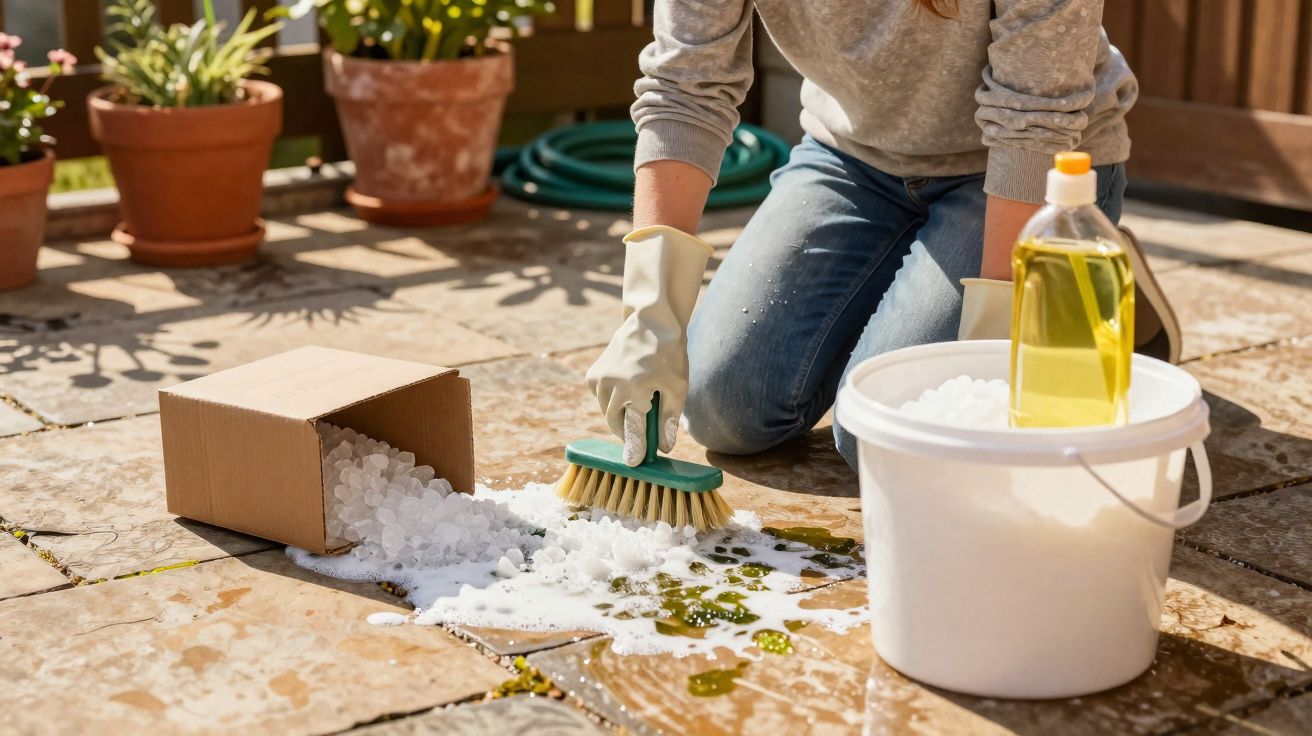
The trick popularised by a British DIY creator is built on a straightforward combination: washing soda crystals and ordinary washing-up liquid. Both are cheap, easy to measure out and much kinder to gardens and pets than many specialist cleaners.
What washing soda crystals do
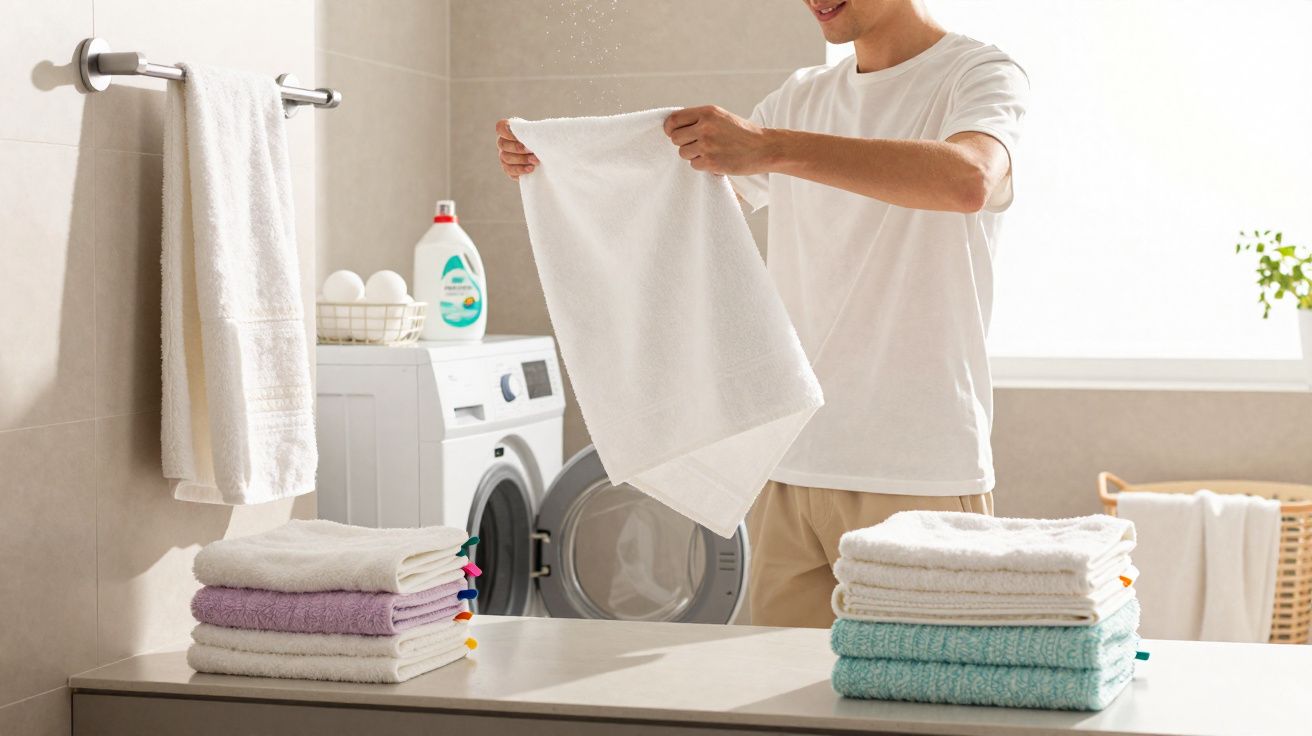
Washing soda crystals, sometimes called laundry soda, were originally used in laundry care. They break down grease, loosen dirt and help lift organic residue from hard surfaces. Those same qualities work very well on patio slabs too:
- they break up baked-on dirt and old barbecue grease
- they help remove green growth
- they soften dark deposits sitting in the pores of the stone
One important point: washing soda is not the same thing as caustic soda. Caustic soda is far harsher and is unsuitable for cleaning a domestic patio.
Why washing-up liquid is part of the mix
Everyone knows washing-up liquid from the sink: it lifts grease and helps water carry dirt away from a surface more effectively. On a patio, it adds three important benefits:
- greasy marks from barbecues, oil or wooden furniture are easier to shift
- fine road dust and soot come away more readily from the stone
- the foam helps spread the soda solution evenly
A plain, colourless washing-up liquid without bleach is perfectly adequate. If you prefer to be more environmentally conscious, choose a product carrying an eco label.
How to clean the patio step by step
A spring deep clean does not require any specialist kit. A sturdy brush, a bucket and a garden hose are enough - everything else can come straight from the cupboard.
Choose a mild, dry day if possible. The mixture needs time to work, and a spell without frost helps prevent the water from refreezing in shaded corners.
Clear the joints
Use a joint scraper or a narrow spatula to remove weeds and loose soil from between the slabs. That improves the cleaner’s effect and helps prevent regrowth.Sweep the surface thoroughly
Remove leaves, loose debris and sand with a stiff yard brush. This allows the cleaning mixture to work directly on the stone and paving surface.Wet the slabs
Hose down the patio well so the washing soda crystals dissolve more quickly and do not blow away immediately.Spread the washing soda crystals
Sprinkle the crystals lightly over the damp surface. Do not pile them on - aim for a fine, even layer.Add the washing-up liquid
Draw a line of washing-up liquid across the area. Use it sparingly; too much will create lots of foam without improving the clean.Brush it in
Work the mixture firmly into the slabs and joints with the stiff brush. Move in strips so that no section is missed.
After that, leave the solution on the patio for around 48 hours. During this time, the residue loosens and the coating breaks down gradually. Once the time is up, rinse everything again with the garden hose to wash away the lifted dirt.
Washing soda and washing-up liquid work slowly, but they are gentle on materials - ideal for older patios, fragile joints and gardens with children or pets.
A few extra ways to keep the patio cleaner for longer
A thorough spring clean is only part of the job. Simple follow-up care makes a big difference, and no one wants to launch a major clean every few weeks.
Regular sweeping is especially helpful. It removes organic debris before it has a chance to turn into a slick film, and it also keeps grit from being ground into the stone by foot traffic. If you live in a shaded or tree-lined garden, more frequent sweeping can make a noticeable difference.
| Interval | Action |
|---|---|
| Every 2–3 weeks | Sweep thoroughly and remove leaves and soil |
| When grease marks appear | Apply diluted washing-up liquid locally and scrub with a brush |
| Once each autumn | Use a gentler washing soda and washing-up liquid mix to break down green growth before winter |
If you lift furniture slightly in autumn, use coasters or feet protectors, and check metal parts now and then, rust marks become much less likely. Putting plant pots on feet or stands also helps prevent brown rings caused by standing water and fertiliser runoff.
Safety, material compatibility and common mistakes
Even though these two products are relatively mild, a little care is still needed.
- Avoid skin contact: Washing soda has a mild degreasing effect, so gloves are useful for protecting hands and nails.
- Keep children and pets away: While the surface is wet, neither children nor animals should walk on it.
- Rinse well afterwards: Once the cleaner has done its job, rinse thoroughly so no residue is left sitting in puddles.
Delicate natural stone can behave differently from concrete slabs or brick pavers. On pale, high-quality stone, it is worth testing the mixture in an out-of-the-way corner first. In that case, begin with less washing soda, more water and a softer brush.
Common mistakes that reduce the effect or cause damage include:
- cleaners that are too strong, such as bleach or heavy descalers
- metal brushes that scratch the surface
- frequent use of an overly powerful pressure washer
When a pressure washer can still be useful
If you are dealing with thick, compacted mud or decades of built-up grime, a brush and household cleaners may not be enough. In that case, a pressure washer set to a moderate level can help - as long as you follow a few rules:
- keep a distance of 20–30 cm
- reduce the pressure and avoid turbo nozzles
- do not aim directly at joints or edges
Often the best approach is to open up badly clogged areas briefly with pressure, then finish them with the washing soda and washing-up liquid method. That keeps material loss to a minimum.
What green growth and rust marks really are
Many patio owners call any green film “moss”, but in reality it is often algae or a thin layer of microorganisms living on persistently damp stone. They only need light, moisture and a bit of nutrient dust from the air.
Rust stains usually come from metal legs, screws or decorative fittings. Dissolved rust particles settle into the pores and are difficult to remove by friction alone. The mildly alkaline action of washing soda helps loosen these deposits without etching the stone.
Once you understand what you are dealing with, you can act more precisely: sweep shaded areas more often, avoid letting water sit on the slabs, and place furniture on glides or pads. Combined with the two-product clean, that is usually enough to keep a patio looking good for many years - without harsh chemicals or the constant roar of a pressure washer.

Comments
No comments yet. Be the first to comment!
Leave a Comment