A completely unremarkable kitchen leftover can surprisingly make all the difference.
Many people throw away their Phalaenopsis as soon as the last bloom drops. Yet most “problem orchids” still have plenty of life left in them. What matters is what is happening at the roots - and this is where an everyday food comes in, one that usually belongs in the saucepan, not the flowerpot.
Why Your Phalaenopsis Orchid Suddenly Stops Flowering
Phalaenopsis orchids are a staple in garden centres and supermarkets, but they are not disposable. If they stop flowering, the cause is often not a mistake at all, but simply a normal resting phase.
Typical signs that the plant is still healthy:
- roots look green or silvery-grey and feel firm
- leaves droop slightly, but stay supple rather than soft and mushy
- the pot is not constantly soaking wet
In that situation, the orchid mainly needs patience, good light and a climate that feels a little like the rainforest: warm, bright, but not blazing in direct sun, with fairly high humidity.
Phalaenopsis Orchid Care: Check the Roots First, Then Think About Feeding
Before you add anything to the roots, it is worth taking a careful look inside the pot.
Warning signs that the orchid is struggling:
- roots are brown, mushy or hollow
- the pot smells damp, musty or rotten
- leaves turn yellow and pull away very easily
If that is the case, no clever kitchen remedy will help. The plant needs repotting first:
- gently lift the plant out of the pot
- remove all rotten roots with a clean, sharp pair of scissors
- discard the old medium and use fresh pine bark or a specialist orchid mix
- replant the orchid and leave it dry for a few days
It also helps to sterilise your scissors before cutting, so any remaining rot or infection is not passed back into healthy tissue. A pot with plenty of drainage holes is just as important, because orchids hate sitting in water for any length of time.
Any nutrient trick only works on an orchid whose roots are still alive. Without healthy roots, there will be no flowers - regardless of the fertiliser.
More Humidity, Less Rainforest: How to Create the Right Window Sill Climate
In centrally heated homes, humidity often drops well below 40 per cent. For most Phalaenopsis orchids, that becomes stressful over time, especially in winter.
A few simple measures can help:
- place the pot near a bright window, but out of the harsh midday sun
- fill a saucer with expanded clay pellets or gravel and add a little water - the pot itself must not stand in the water
- keep the room temperature around 18 to 22 degrees during the day
- let it be 4 to 8 degrees cooler at night, for example in a bedroom window that is slightly ajar
That difference between day and night temperatures is considered one of the key triggers for new flower spikes.
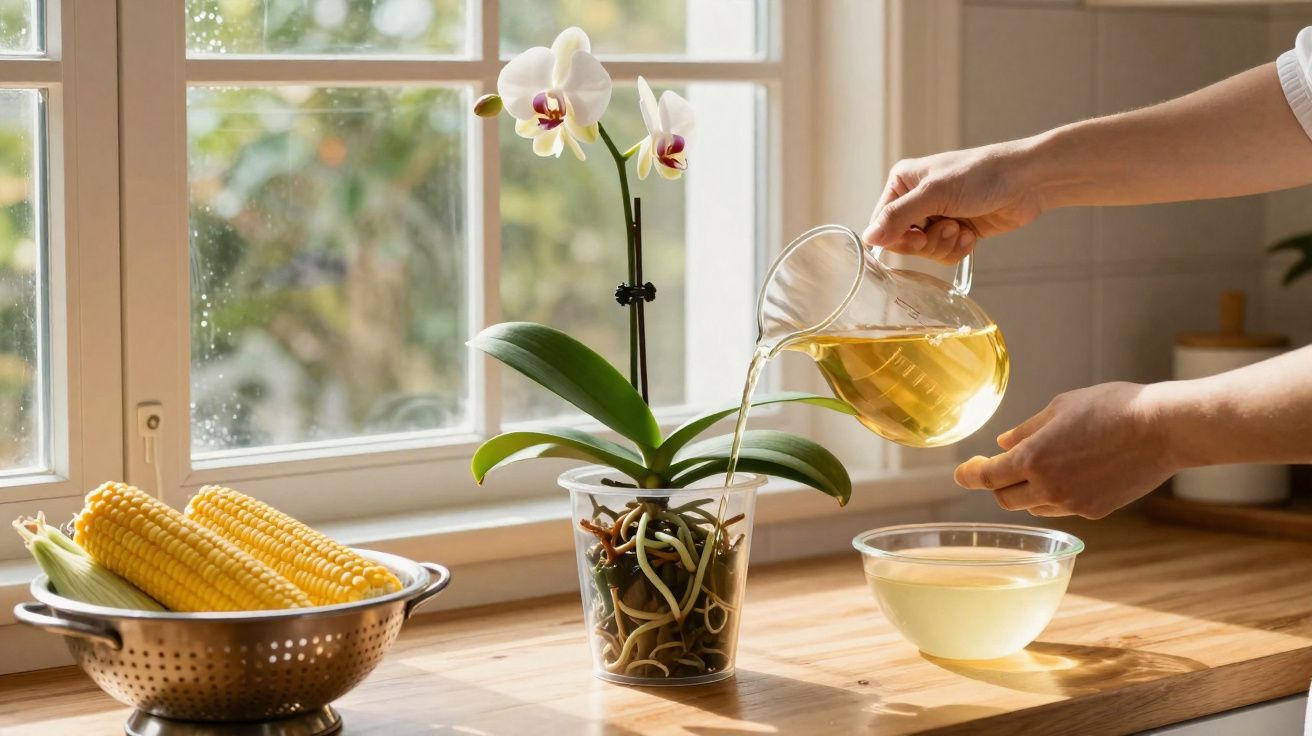
The Surprising Helper: Boiled Corn as a Root Booster
The real trick comes from the kitchen: boiled corn. At first it sounds like something from a grandmother’s recipe book, but there is a sensible explanation behind it.
Boiled corn contains:
- plenty of starch compounds
- a small amount of fibre
- antioxidants and trace elements
This starch does not feed the orchid directly. Instead, it mainly supports the microorganisms in the growing medium. These include beneficial fungi known as mycorrhizae, which live in close partnership with the roots and help them absorb nutrients.
The corn trick is not a magic potion. It is a gentle nudge for the life around the roots - and that can be the starting signal for fresh growth.
A similar idea is well known in amateur gardening through the use of rice water. The corn method works on a comparable principle: organic material in water brings a small extra portion of nutrients into the root zone without overwhelming the plant.
How to Make the Natural Corn Fertiliser Properly
The “root booster” can be made in just a few minutes from leftover boiled corn.
Step-by-step instructions
- Leave about 100 grams of boiled corn to cool.
- Blend it finely with 1 litre of lukewarm water.
- Strain the mixture very thoroughly through a fine sieve or cloth until no pieces remain.
- Pour the liquid into a clean bottle and keep it in the fridge.
Important: this mixture only keeps for a very short time. It should be used within two days at the latest. If a film develops on top or the liquid smells sour, pour it away; do not give it to the plant.
How often you can use the corn mixture on the roots
When it comes to dosage, very little is enough. For a medium-sized Phalaenopsis:
- add 1 to 2 teaspoons of the liquid to slightly moist growing medium
- leave roughly 3 to 4 weeks between applications during the active growth phase
- in between, water or soak the orchid as usual with plain water
Less is more here: the corn trick should stimulate the roots, not turn the pot into soup.
How to Water Correctly So the Roots Do Not Rot
Many Phalaenopsis orchids die not from a lack of nutrients, but from waterlogging. Proper watering technique is therefore almost more important than any kitchen-based trick.
Soaking works well:
- place the pot in a bowl of lukewarm water
- wait about 5 to 10 minutes until the medium has soaked up enough water
- let the pot drain thoroughly
- do not soak it again until the roots inside the pot look silvery-grey once more
The cooking liquid from unsalted corn can occasionally be mixed into the soaking water in very small amounts. It must always be completely cooled first and should only be applied to already moist growing medium, so the roots are not stressed.
Try not to splash water into the crown of the plant or onto the leaves for long periods, because trapped moisture can encourage rot. A brief soak with full drainage is far safer than frequent little splashes.
When You Can Expect New Flowers
Even with ideal care and a little help from corn, the blooms will not appear overnight. The plant first needs new, strong roots and, if necessary, fresh leaves. Only then will it produce new flower spikes again.
Be realistic and expect several months in which most of the action happens below the surface. Signs that the plan is working include:
- fresh, light-green root tips in the pot or on the stem
- new leaves forming in the centre of the rosette
- later on, small pointed shoots appearing on old flower stems or directly from the base
During this stage, patience pays off. Moving the plant too often or constantly turning the pot interrupts its orientation towards the light and slows down flower formation.
Chances, Risks and Sensible Additions
Using corn as a natural fertiliser has a certain appeal: it makes use of kitchen leftovers, reduces waste and is far gentler than many liquid all-purpose fertilisers from a bottle. At the same time, it brings risks if used too generously.
Typical mistakes to avoid:
- giving too much at once
- applying it to bone-dry medium
- using spoiled or salty cooking liquid
- leaving too little time between applications
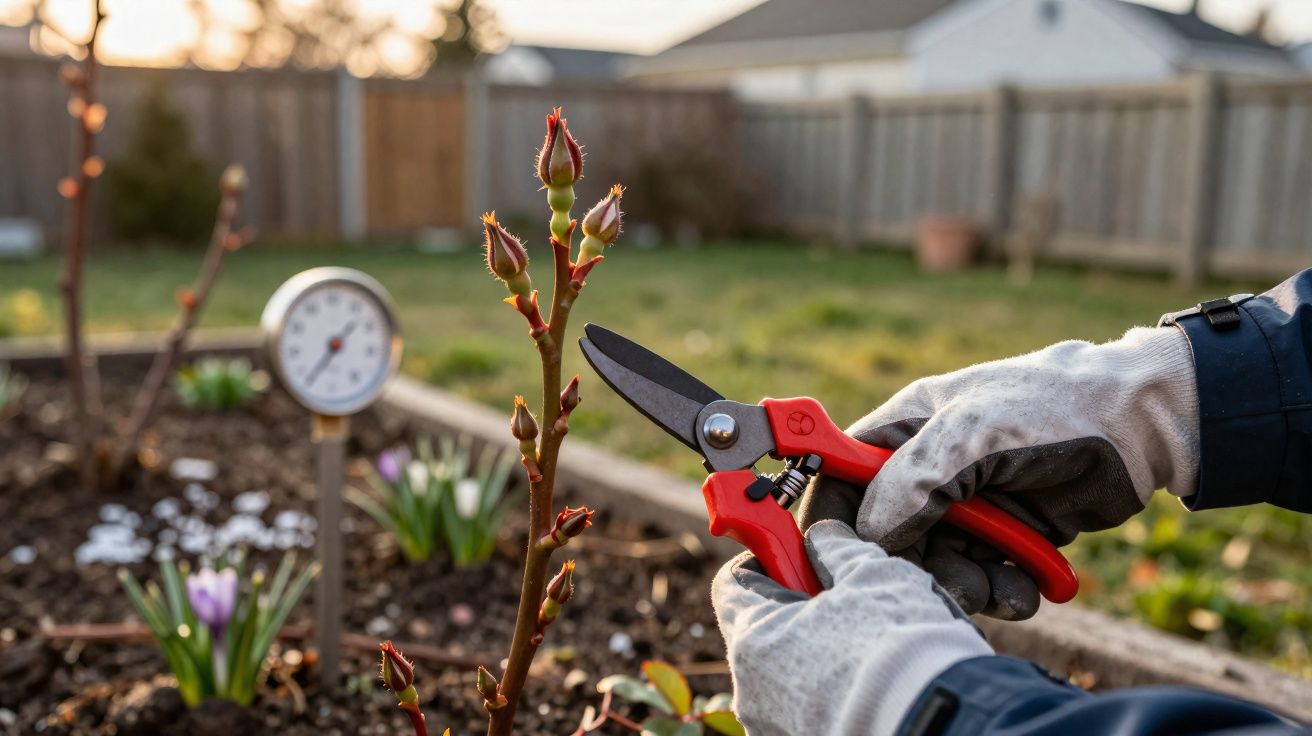
As a basic routine, a properly dosed commercial orchid fertiliser still makes sense, for example once a month at a weak concentration. The corn method is better suited as an extra when the plant needs a gentle push after the flower stems have been cut back or after repotting.
Anyone who enjoys experimenting can try similar home remedies, such as very heavily diluted rice water or banana peel infusions - always in tiny quantities and never without first checking the roots. Every orchid responds a little differently, but the basic principle stays the same: healthy roots, the right climate, modest nutrients and plenty of patience are the real key to a second bloom.


Comments
No comments yet. Be the first to comment!
Leave a Comment